XVI. WORK FOLDERS
CÁC BƯỚC TRIỂN KHAI
1. Cài đặt Role Work Folders
2. Tạo Sync Share
3. Enable SMB Access
4. Tạo GPO phân quyền Domain Users làm Local Administrator trên các máy Client
5. Tạo GPO tự động cấu hình WorkFolders
6. Tạo GPO tự động chạy Script trên các máy Client
7. Kiểm tra
A- CHUẨN BỊ
Mô hình bài lab bao gồm 2 máy:
+ PC01: Windows Server 2016 DC (Domain: NHATNGHE.LOCAL)
+ PC05: Windows 8 Enterprise 8.1 đã join domain
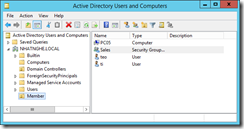
– Trên PC01, tạo OU Members. Move PC05 vào OU Members. Tạo user teo, ti và group Sales.
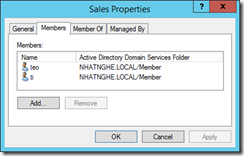
– Add 2 user teo, ti vào group Sales
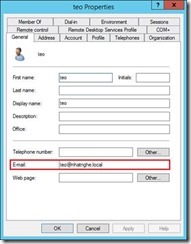
– Chuột phải user Teo, chọn Properties. Tab General -> Mục Email, điền vào [email protected]
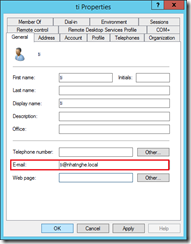
– Thực hiện tương tự cho user ti
B- THỰC HIỆN
1. Cài đặt Role Work Folders (Thực hiện trên PC01)
– Mở Server Manager -> menu Manage -> chọn Add Roles and Features
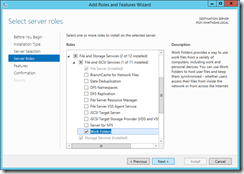
– Các bước đầu tiên nhấn Next theo mặc định. Màn hình Select Server Roles -> chọn Work Folders -> Next
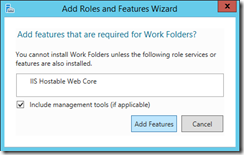
– Chọn Add Features -> Next
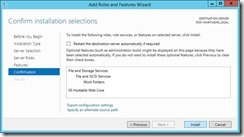
– Nhấn Install để cài đặt -> Close
2. Tạo Sync Share (Thực hiện trên PC01)
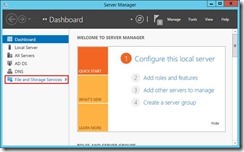
– Quay lại Server Manager -> chọn File and Storage Services
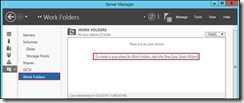
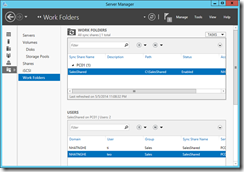
– Chọn Work Folders -> To create a sync share for Work Folders, start the New Sync Share Wizard.
– Màn hình Before you begin -> Next
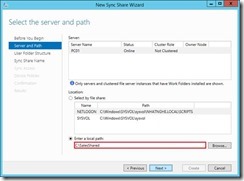
– Màn hình Server and path -> Enter a local path, nhập C:\SaleShared -> Next
– Nhấn OK để tạo mới thư mục
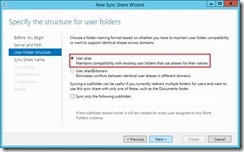
– Chọn User Alias -> Next
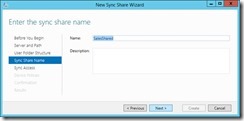
– Màn hình Sync Share Name -> giữ nguyên như mặc định -> Next
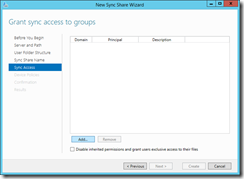
– Màn hình Sync Access -> nhấn Add
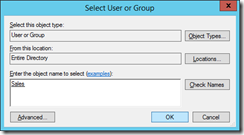
– Chọn thêm group Sales -> Check Names -> OK -> Next
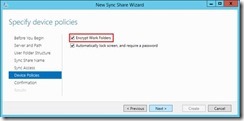
– Chọn ô Encrypt Work Folders -> Next
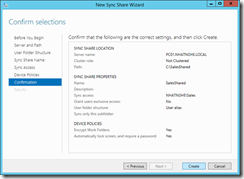
– Màn hình Confirmation -> Create -> Close
– Quan sát thấy SyncShare vừa tạo.
3. Enable SMB Access (Thực hiện trên máy PC01)
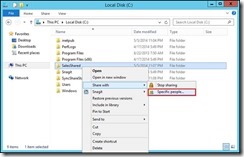
– Mở File Explorer -> Chuột phải vào C:\SaleShared -> Share with -> Specific people
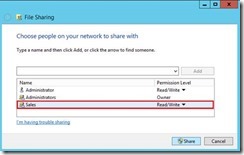
– Add group Sales -> Phân quyền Read/Write -> Share -> Done
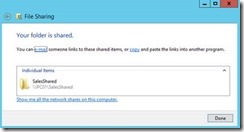
– Nhấn Done.
4. Tạo GPO phân quyền Domain Users làm Local Administrator trên các máy Client (Thực hiện trên máy PC01)
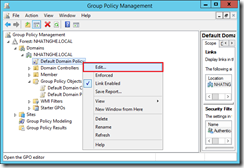
– Mở Group Policy Management -> Chuột phải vào Default Domain Policy -> chọn Edit
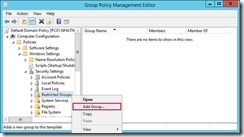
– Bung theo đường dẫn: Computer Configuration -> Policies -> Windows Settings -> Security Settings. Chuột phải vào Restricted Groups -> chọn Add Group
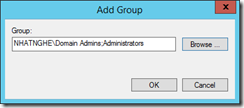
– Nhấn Browse, nhập vào Domain Admins và Administrators -> OK
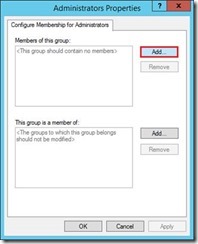
– Members of this group -> Add
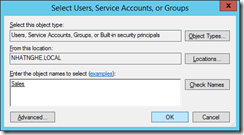
– Nhập vào group Sales -> Check Names -> OK 3 lần
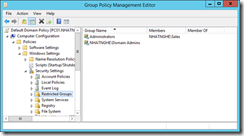
– Quan sát thấy group Sales đã được thêm vào nhóm Administrators -> Đóng cửa sổ Group Policy Management Editor.
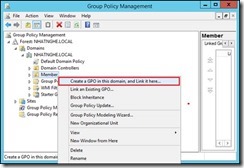
– Chuột phải vào OU Member -> chọn Create a GPO in this domain, and Link it here
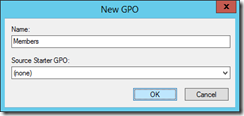
– Ở mục Name, đặt tên Members -> OK
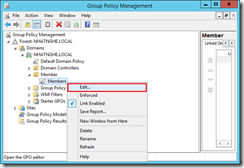
– Chuột phải vào GPO Members -> chọn Edit
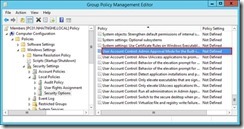
– Mở theo đường dẫn Computer Configuration -> Policies -> Windows Settings -> Security Settings -> Local Policies -> Security Options, khung bên phải nhấn double click vào mục User Account Control: Admin Approval Mode for the Built-in Administrator account
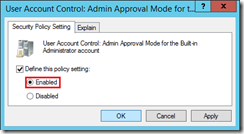
– Chọn Enabled -> OK
– Mở CMD, gõ lệnh Gpupdate /Force
5. Tạo GPO tự động cấu hình WorkFolders
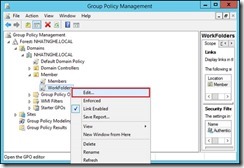
– Chuột phải vào GPO WorkFolders -> chọn Edit
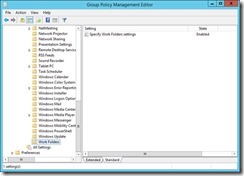
– Mở theo đường dẫn: User Configuration -> Policies -> Administrative Templates -> Windows Components -> Work Folders, nhấn double click vào mục Specify Work Folders settings
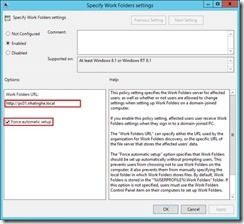
– Chọn Enabled. Ở mục Work Folders URL, nhập vào: http://pc01.nhatnghe.local -> Chọn ô Force automatic setup -> OK
6. Tạo GPO tự động chạy Script trên các máy Client (Thực hiện trên PC01)
– Mở Notepad, lần lượt nhập 3 lệnh sau
+ Lệnh 1: Reg add HKLM\SOFTWARE\Microsoft\Windows\CurrentVersion\WorkFolders /v AllowUnsecureConnection /t REG_DWORD /d 1
+ Lệnh 2: Reg add HKLM\Software\Microsoft\Windows\CurrentVersion\WorkFolders /v ServerUrl /t REG_SZ /d http://pc01.nhatnghe.local
+ Lệnh 3: Reg add HKLM\SOFTWARE\Microsoft\Windows\CurrentVersion\WorkFolders /v PollingInterval /t REG_DWORD /d 5
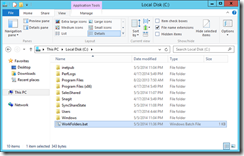
– Lưu lại thành file WorkFolders.bat
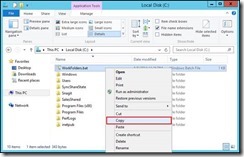
– Chuột phải vào file WorkFolders.bat -> chọn Copy
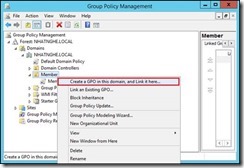
– Chuột phải vào OU Member -> chọn Create a GPO in this domain, and Link it here
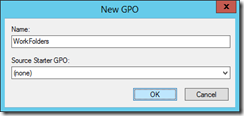
– Ở mục Name, đặt tên WorkFolders -> OK
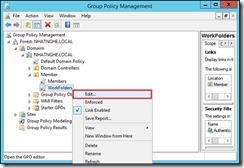
– Chuột phải vào GPO WorkFolders vừa tạo -> chọn Edit
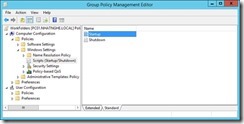
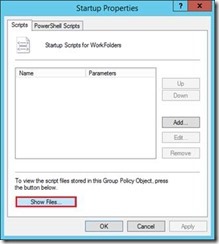
– Mở theo đường dẫn: Computer Configuration -> Policies -> Windows Settings -> Scripts (Startup/Shutdown), khung bên phải nhấn double click vào Startup
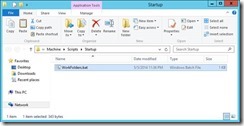
– Nhấn nút Show Files
– Chuột phải chọn Paste. Quan sát thấy file WorkFolders.bat đã được dán vào.
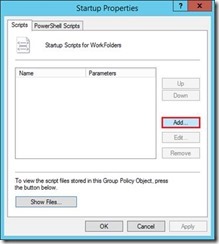
– Nhấn nút Add
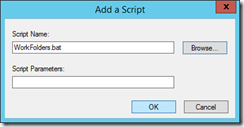
– Nhấn nút Browse và trỏ đường dẫn đến file WorkFolders.bat -> OK 2 lần
– Mở CMD, gõ lệnh Gpupdate /Force
7. Kiểm tra (Thực hiện trên máy PC05)
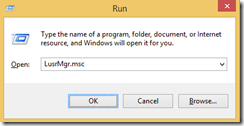
– Log on user Ti, nhấn tổ hợp phím ÿ + R, gõ lệnh LusrMgr.msc -> OK
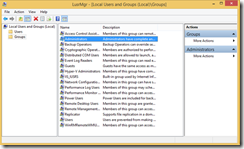
– Ở khung bên trái, chọn Groups -> Double click vào Administrators
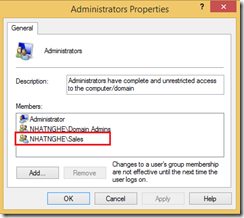
– Quan sát thấy Group Sales nằm trong Local Administrator
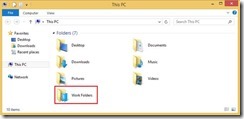
– Mở File Explorer -> nhấn vào This PC -> Quan sát thấy có Work Folders
– Mở Notepad, tạo file ti.txt và lưu vào Work Folders
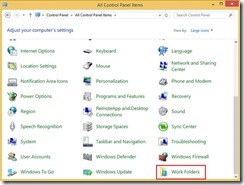
– Mở Control Panel, chọn Work Folders
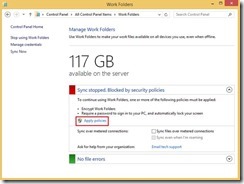
– Nhấn Apply Policies
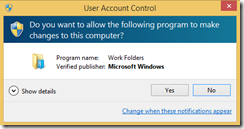
– Nhấn Yes
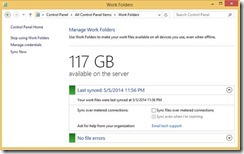
– Dữ liệu được đồng bộ hóa. User Ti ngồi ở bất kỳ máy nào cũng sẽ thấy Work Folder này.
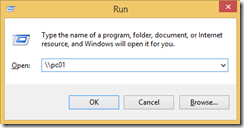
– Bên cạnh đó, do SMB được enabled nên user có thể truy cập bằng UNC
– Quan sát thấy dữ liệu
